How to Create Stunning Time-Lapse Videos with Your DSLR
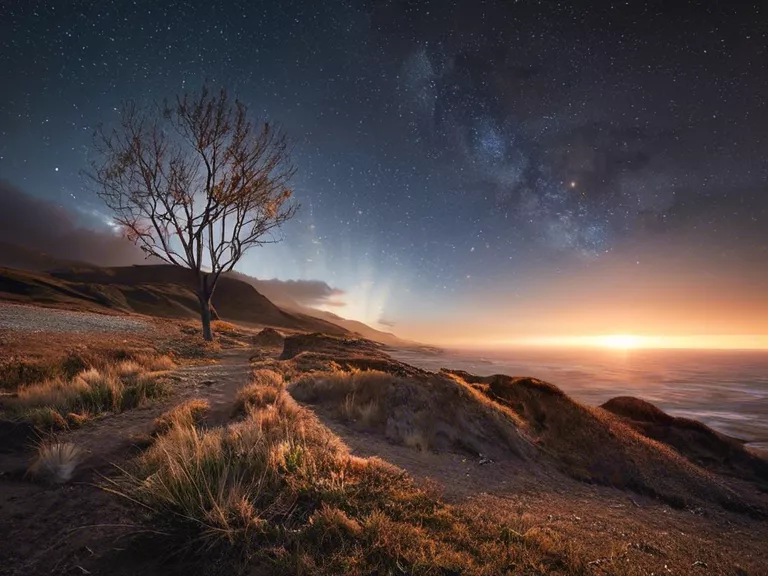
Time-lapse videos are a captivating way to showcase the passage of time in a condensed format. By utilizing your DSLR camera, you can create high-quality time-lapse videos that will impress your viewers. In this guide, we will walk you through the steps to create stunning time-lapse videos with your DSLR.
Step 1: Plan Your Time-Lapse
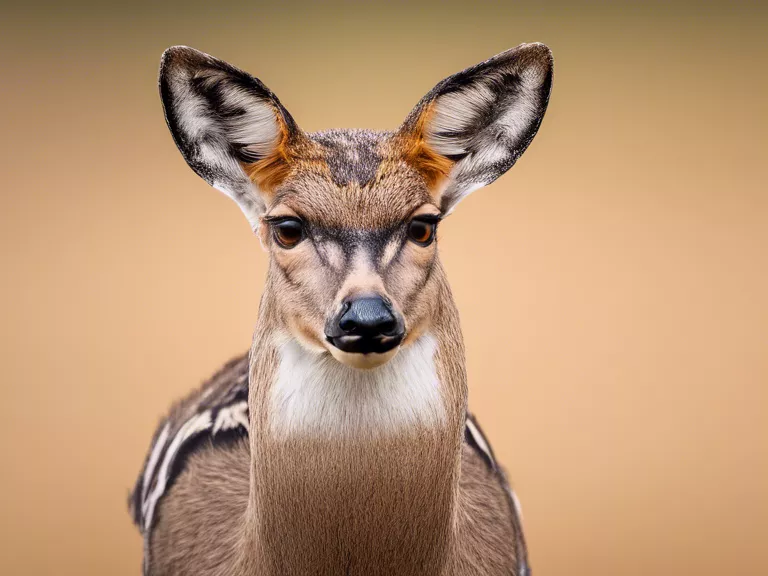
Before you start shooting, it's essential to plan out your time-lapse. Consider factors such as the duration of your video, the interval between shots, and the subject you want to capture.
Step 2: Set Up Your DSLR
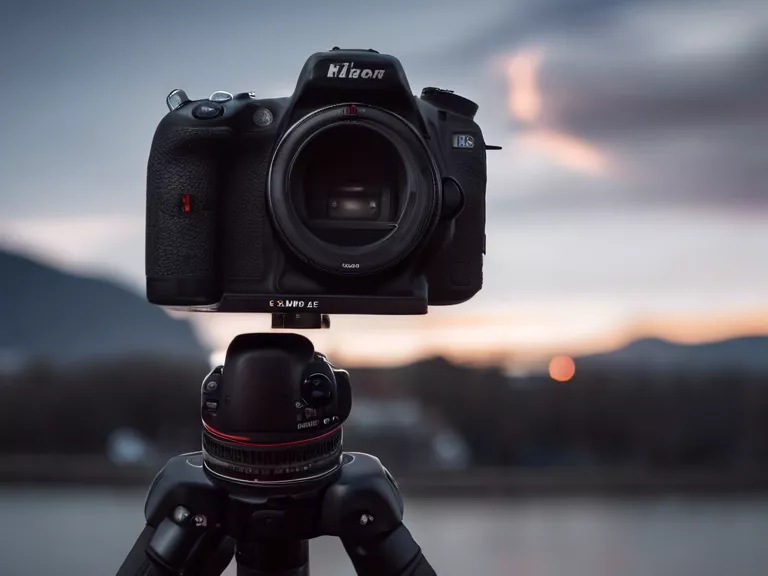
Mount your DSLR camera on a stable tripod to ensure steady shots. Set your camera to manual mode so you have control over the exposure settings. It's also recommended to use an external intervalometer to automate the shooting process.
Step 3: Frame Your Shot
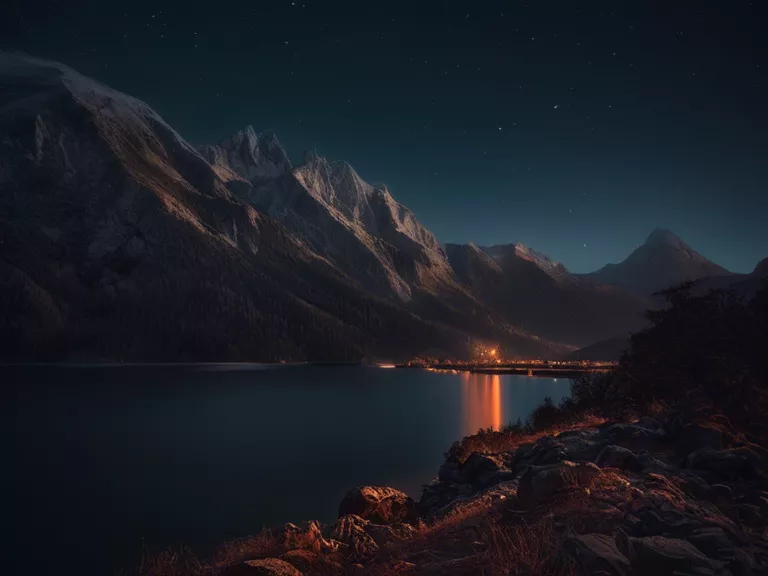
Compose your shot carefully, taking into account the movement of the subject and any changes in lighting. Make sure to set your focus and exposure before you start shooting.
Step 4: Start Shooting
Begin capturing your time-lapse by taking a series of photos at regular intervals. Make sure to keep your camera steady and avoid any interruption in the shooting process.
Step 5: Post-Processing
After you've captured all your shots, transfer them to your computer and use editing software like Adobe Premiere or Final Cut Pro to compile them into a seamless time-lapse video. You can also adjust colors, contrast, and speed to enhance the visual impact of your video.
By following these steps, you can create stunning time-lapse videos with your DSLR that will captivate your audience and showcase the beauty of the passage of time.